Exactly, this is our 150th newsletter!! But don’t get intimidated! Up here, below the title banner, there is a menu that you can use to search topics of interest: accessories, history, surviving instruments, iconography, interviews… and even recipes!
As promised, this time we want to share how we make the fingerboard of the Violoncello da Spalla. Let’s dive in!
First thing, you need to find the right wood! The Violoncello da Spalla fingerboard is a maple and spruce sandwich, with a super-hard wood topping. We like to use, for the core sandwich, wood from the leftovers of the top and the back of the instrument we are making.
When you glue together two pieces of wood, the matching surfaces have to be perfectly… matching. Straight and smooth, in this case. Much better if the surface is obtained with a sharp blade than with sandpaper. So, the big plane is the perfect tool here.
The sandwich needs to already have the right width of the neck, at the nut and at the heel, so you need to measure carefully to obtain a trapezoid matching the neck.
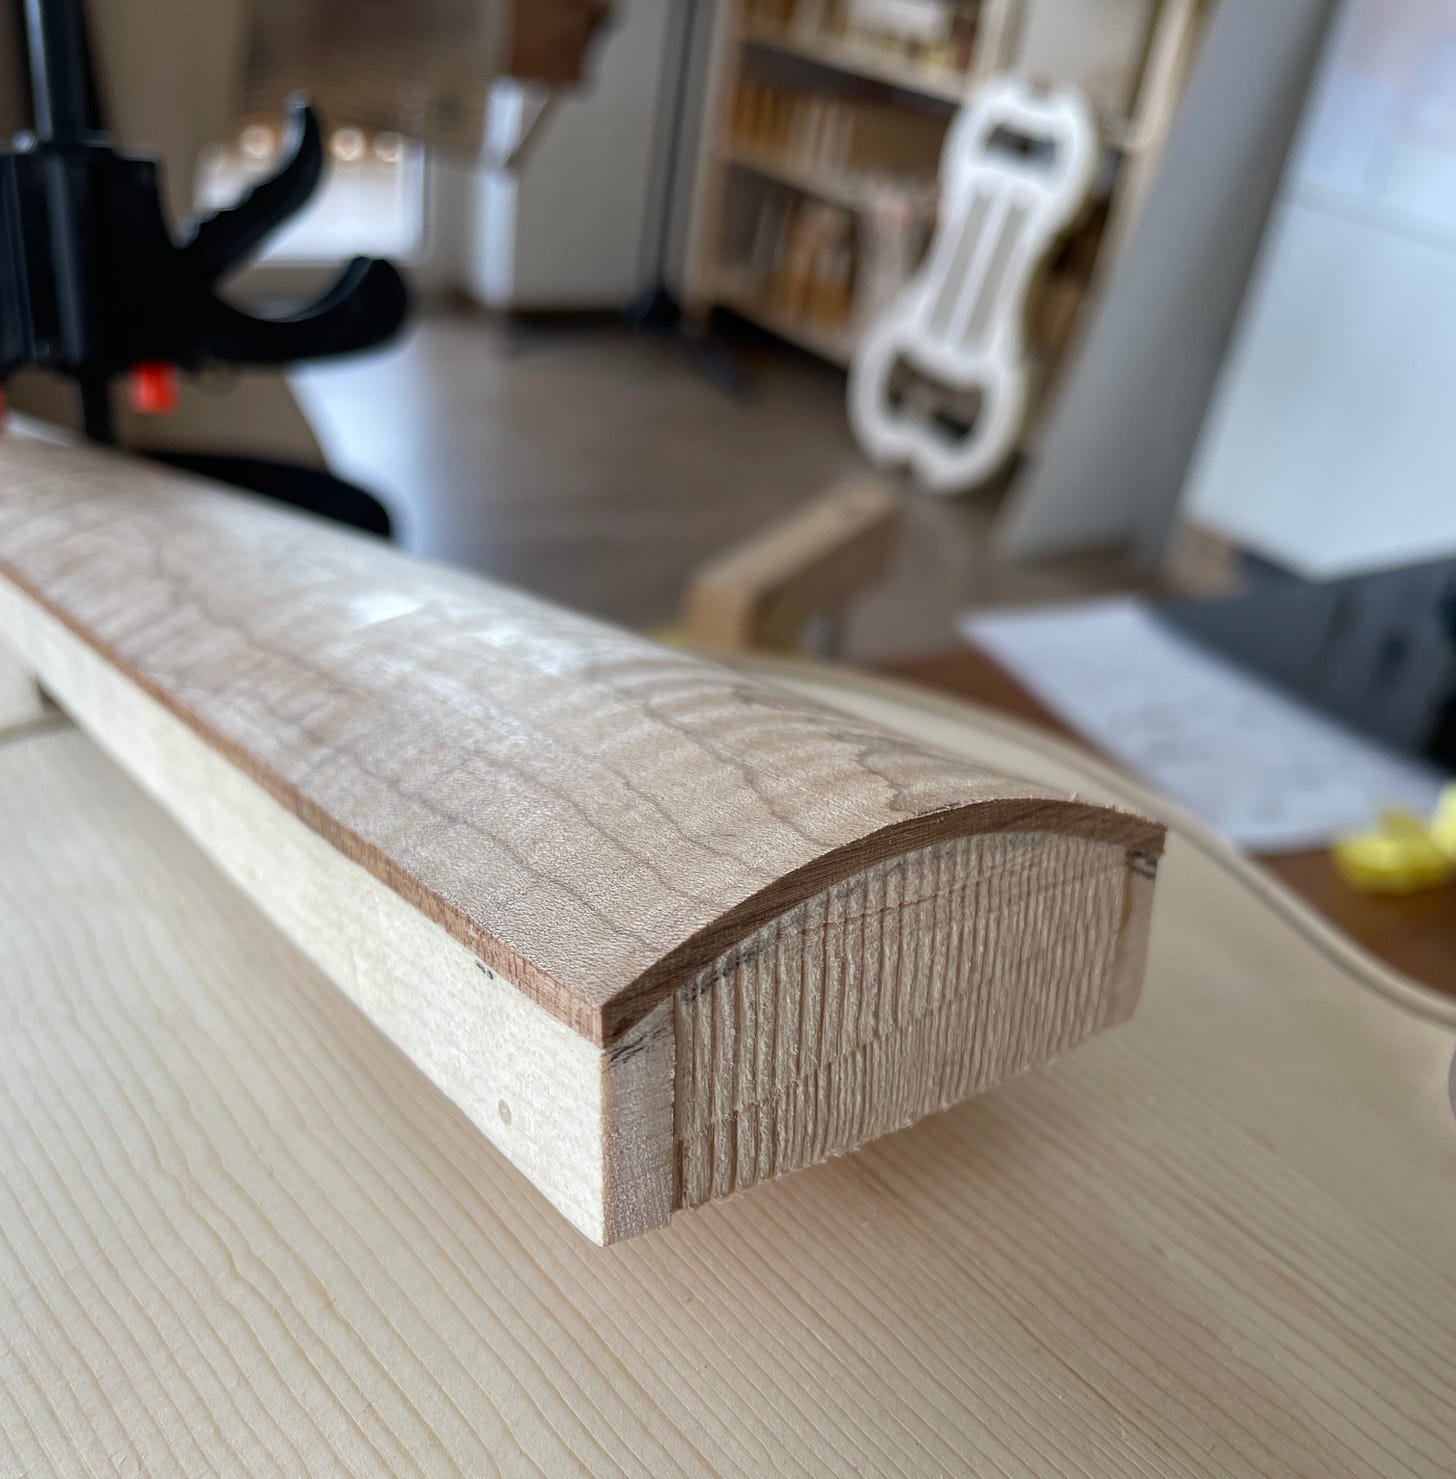
After sawing, planing, gluing and clamping, we obtain the core sandwich, with two pieces of spruce in the middle and two maples on the sides.
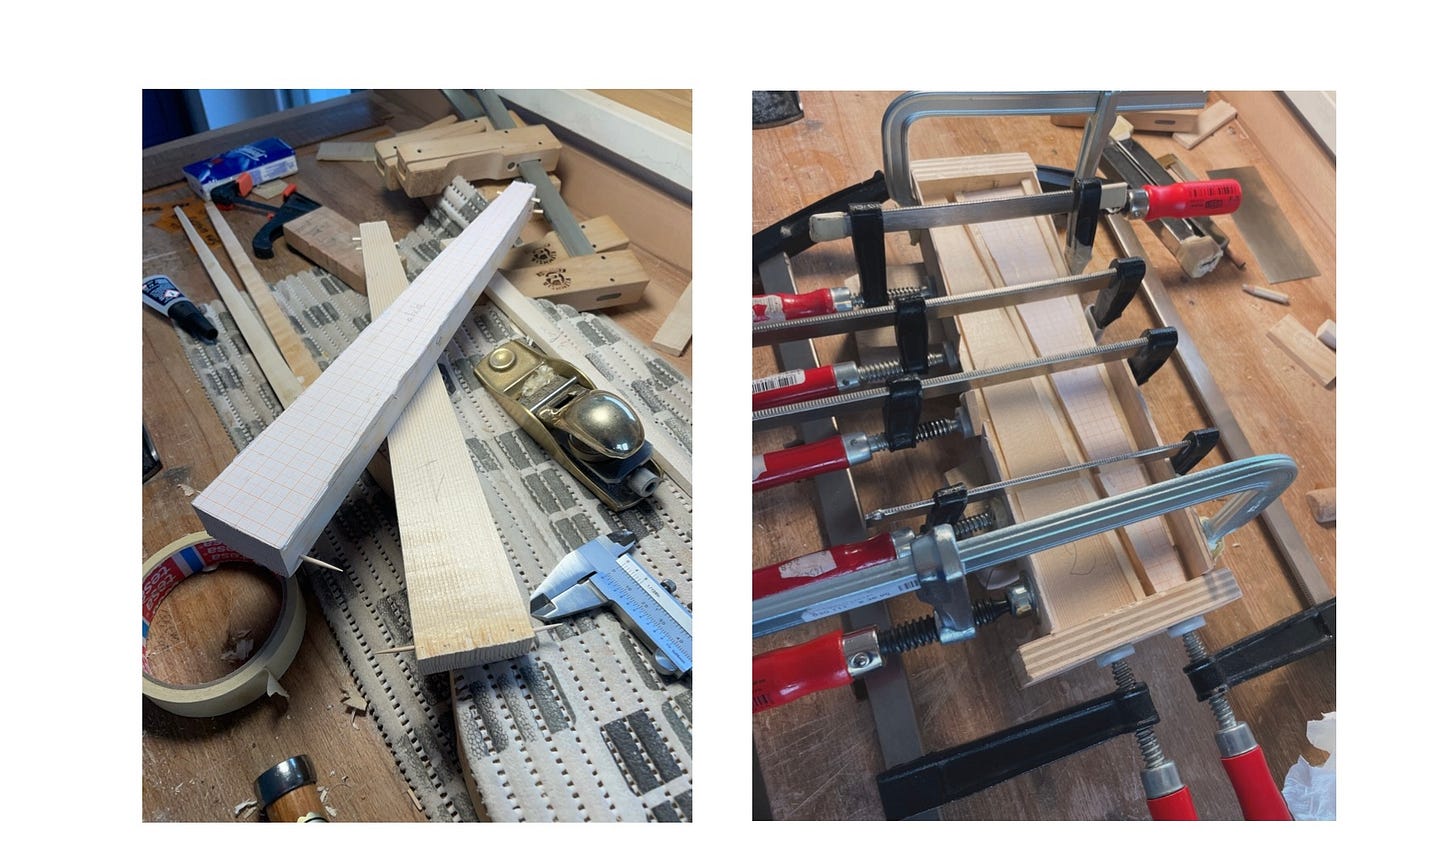
Now, we need to shape the upper part of our core sandwich and give it the right curve. It has to be already the best possible, without bumps or imperfections. We use a template to check our work.
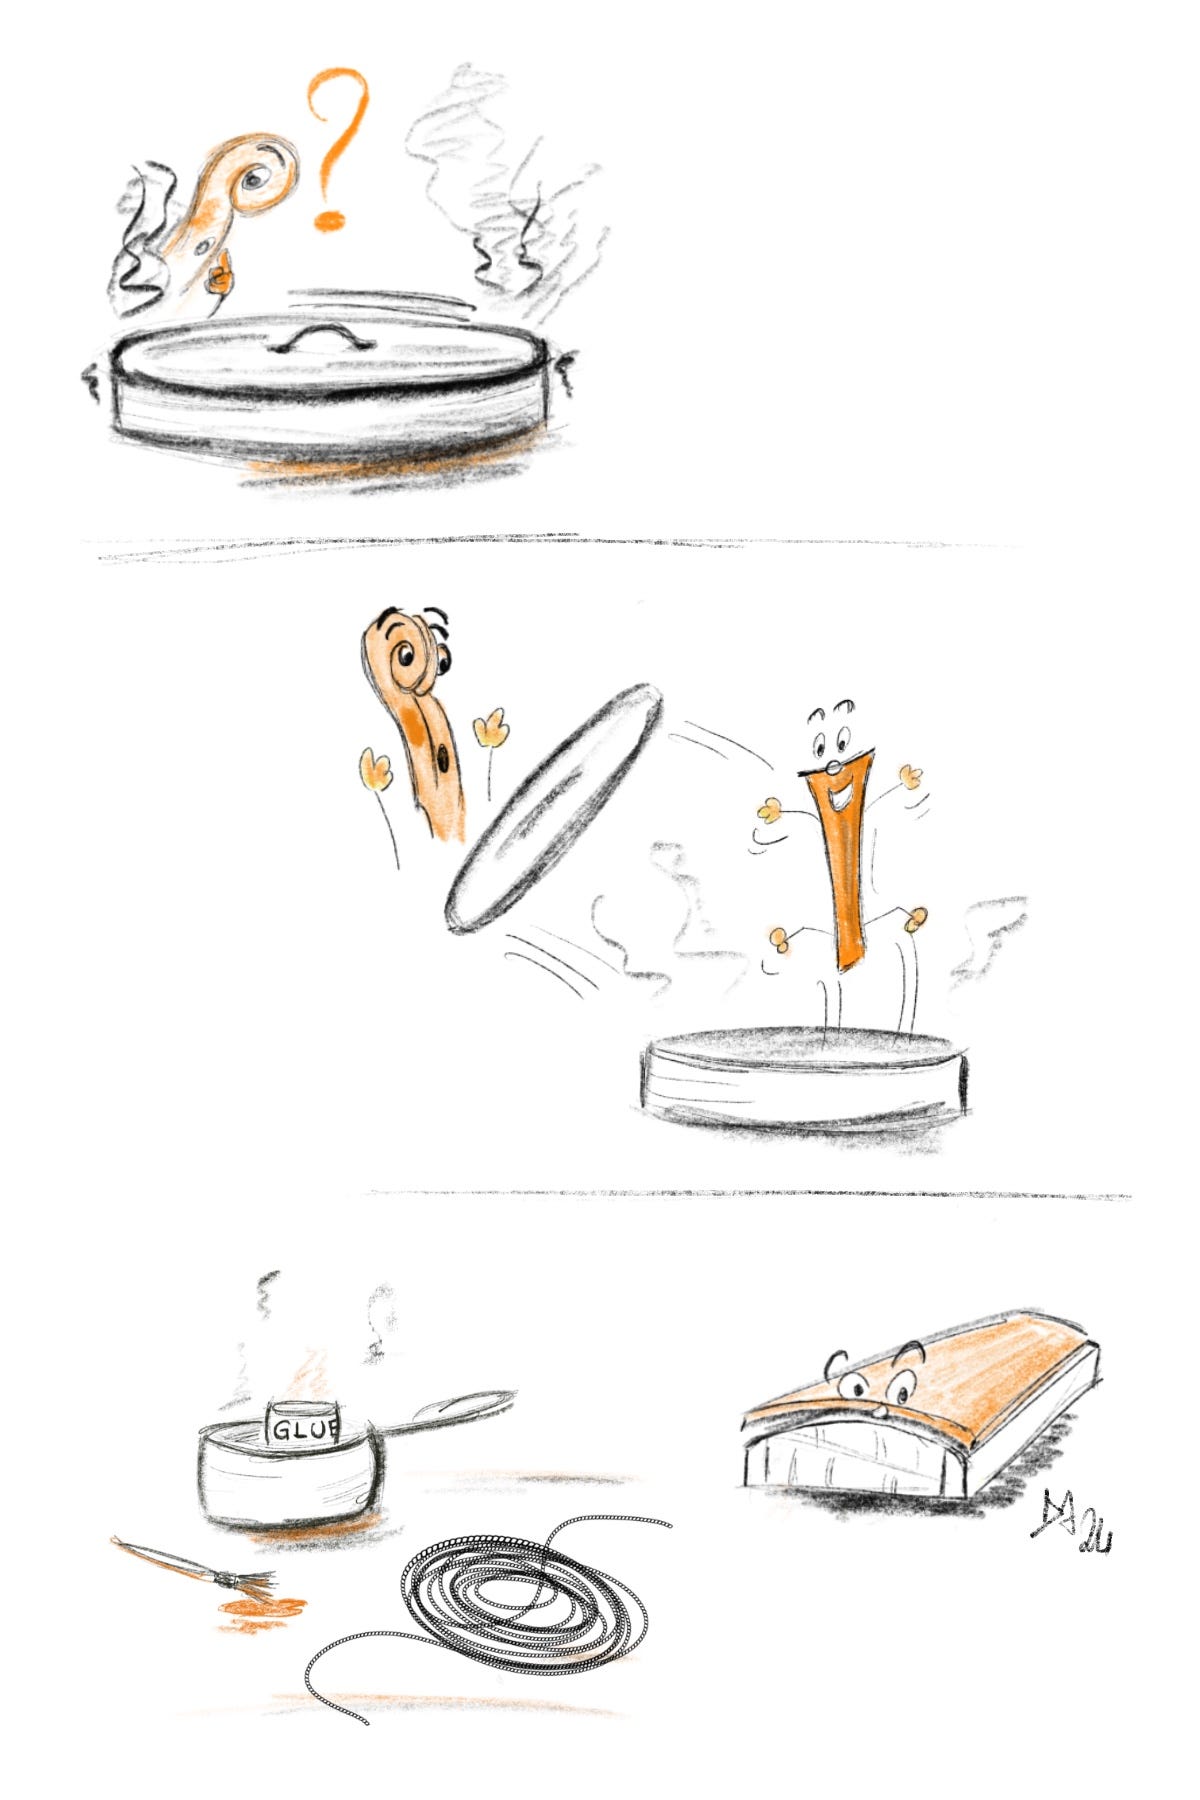
And now, what’s cooking?
The super-hard wood topping of our sandwich!
A veneer of hard wood is bent (with heath, or steam, or both depending on the material) to match the curve, and then glued to the core. Clamps are not of help now, but a rope tied around the fingerboard is the easiest thing.
This time I used a gorgeous flamed maple sonowood, an alternative to ebony. Sonowood is made of 100% wood, pressed until it reaches the density of ebony. Ebony is at risk on our planet, as we used too much in the last decades. Sonowood uses only indigenous woods of species not at risk. Therefore, no trade or borders-crossing restrictions occur. A fingerboard with this material is one more thing we can do to help our planet and to help shape the industry to conform to a higher sense of environmental responsibility.
What we need to obtain now is the correct projection of the fingerboard at the bridge, and we also check the height at the end of the fingerboard, so that it has the correct tilt. This is achieved by…
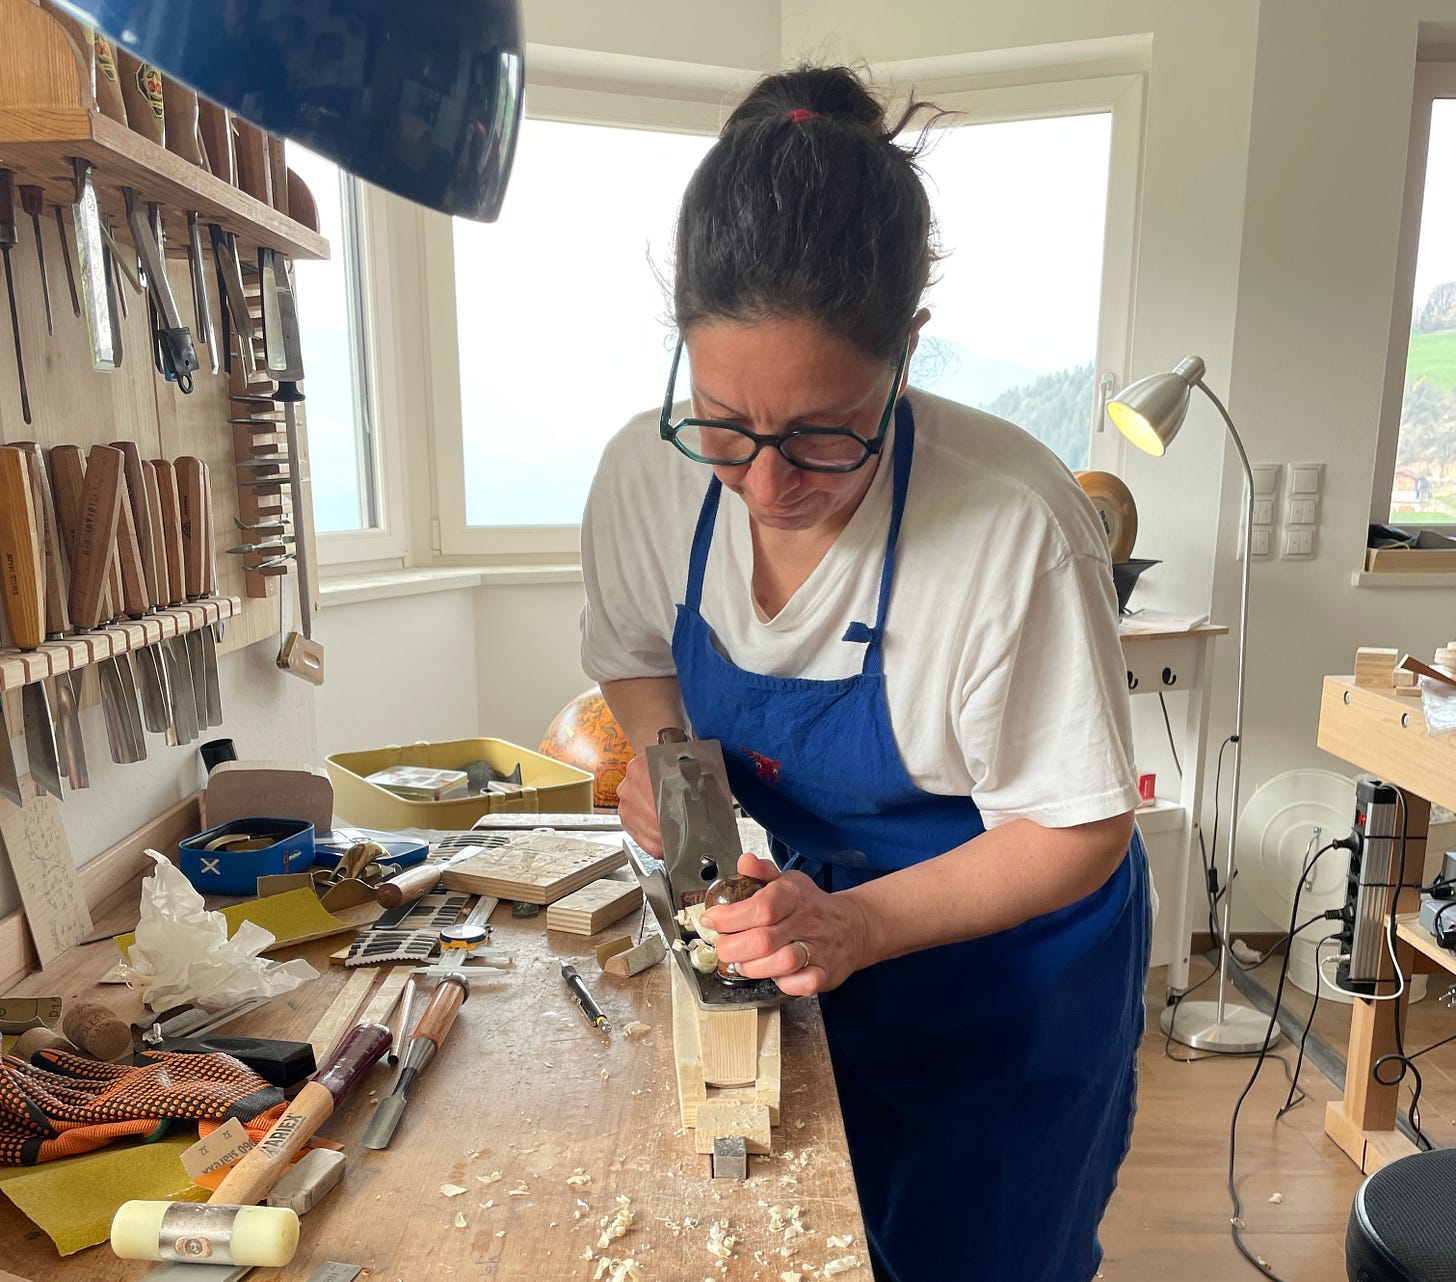
…planing, yes, to give the correct angle to the lower part of our fingerboard, basically turning it into a wedge. This is a most delicate part of the process, time consuming, because you have to continuously check the results of what you are doing!
Of course, the surface that will be glued to the neck has to be perfectly flat!
Once you are happy with your projection and wedge, you need to fix the head of the fingerboard. It must be in square to the upper surface of the neck and with no bumps, to perfectly match and accommodate the nut. And, it has to be straight: the two angles of the sides have to be equal!
When it’s done, you check once again that everything is well aligned. When the head of the fingerboard sits right on the nut line, the sides need to point the same part of the ff holes. It’s helpful to put also the bridge in place for more references, and to look only with one eye.
When you are 100% sure that you won’t have to touch the head of the fingerboard again, you can finally measure if you have some extra length and cut it out. And, of course, make also the end straight and nice.
Check the length of the neck under the fingerboard and mark that (and the tilt) on the two maple sides. With a template, draw the final shape you want.
Saw at the neck length and, with a big chisel, make the tangent cut and get to a perfect alignment of the vertical end of the neck (the overhang on the top) and your first cut.
This dent is what will keep the strap in place, so its measure is important and related to that of the strap.
Finally, you can set on mode “creativity on” and shape the lower side of your fingerboard. Do it nice because it is one of the part of the instrument that you’ll see more often while playing the Violoncello da Spalla! It has to amuse the player and be as neat and beautiful as all the rest of the instrument!
First you take off all that extra wood with gouges and finger planes. Then you smooth everything with rasps and files and check that your maples have the shape you want. At this point, you start carving in the spruce with your gouges and smaller finger planes. I like to leave here some light tool marks, to remind the customer that this fingerboard was handmade as the rest of the instrument. However, everything needs to be consistent in thickness. I like to bring it thinner at the end, to give it a lighter look. I also carve a bit the part that will be over the neck, just to get it a bit lighter.
We’re almost there!!
At this point I like to stain the wood of the lower part, so that it will not be super white when compared to the varnished instrument. I apply the same ground I will later apply to the whole instrument, so I leave it a bit in the sun to polymerase.
And finally, glue and clamps ready, we glue it in place!!
It takes me a week to make a fingerboard. I’m happy about the result of these two, I think this Sonowood flamed maple is gorgeous!
We’re starting a payed newsletter in which we’ll show everything, from buying woods and decide the model to final set up. If you are interested, you may consider a payed subscription to get those posts!
Updates from our workshop
will we hear how they play on next issue?
Featured video of the week:
I once was in a true “How it’s made” episode! It was about gut strings. I had to play my viola at the opening: the images were taken in the park of Villa Caldogno, a beautiful Palladian villa with frescoes featuring a lute and a gamba viol. But for the audio, I had to play again sitting on the back seat of the troupe’s van, watching the images on the small screen of the camera for the synchro!
At minute 1.15, the hands are my hands, cleaning the guts with a copper thimble.







Thank you for the step by step instructions. I have one question about this: I didn't even know that sonowood could be bent. Is this only the case for maple? And how thick is the layer on top of the glued fingerboard. How do you do the bending technically? On the already prepared form. Is there perhaps a picture of this? Thanks for your answer. Ulrich