


To those makers used to graft the neck into the upper block, glueing the neck on the ribs often seems scary; I’m not sure if it is because of the different procedure or the possible consequences of a nail hammered in the neck. Sometimes, they simply see it as antiquated and go for the “upgrade” of a more modern technology. Instead, I find it a fascinating part of making baroque instruments, and I enjoy exploring the old techniques. I would encourage any luthier to try it at least once instead of quitting it a priori.
I would also encourage any player interested in buying a Violoncello da Spalla to get more information about how the instrument they are considering was built. Respecting the making technology of a period also impacts the sound (if you are interested in the sound of that period of course).
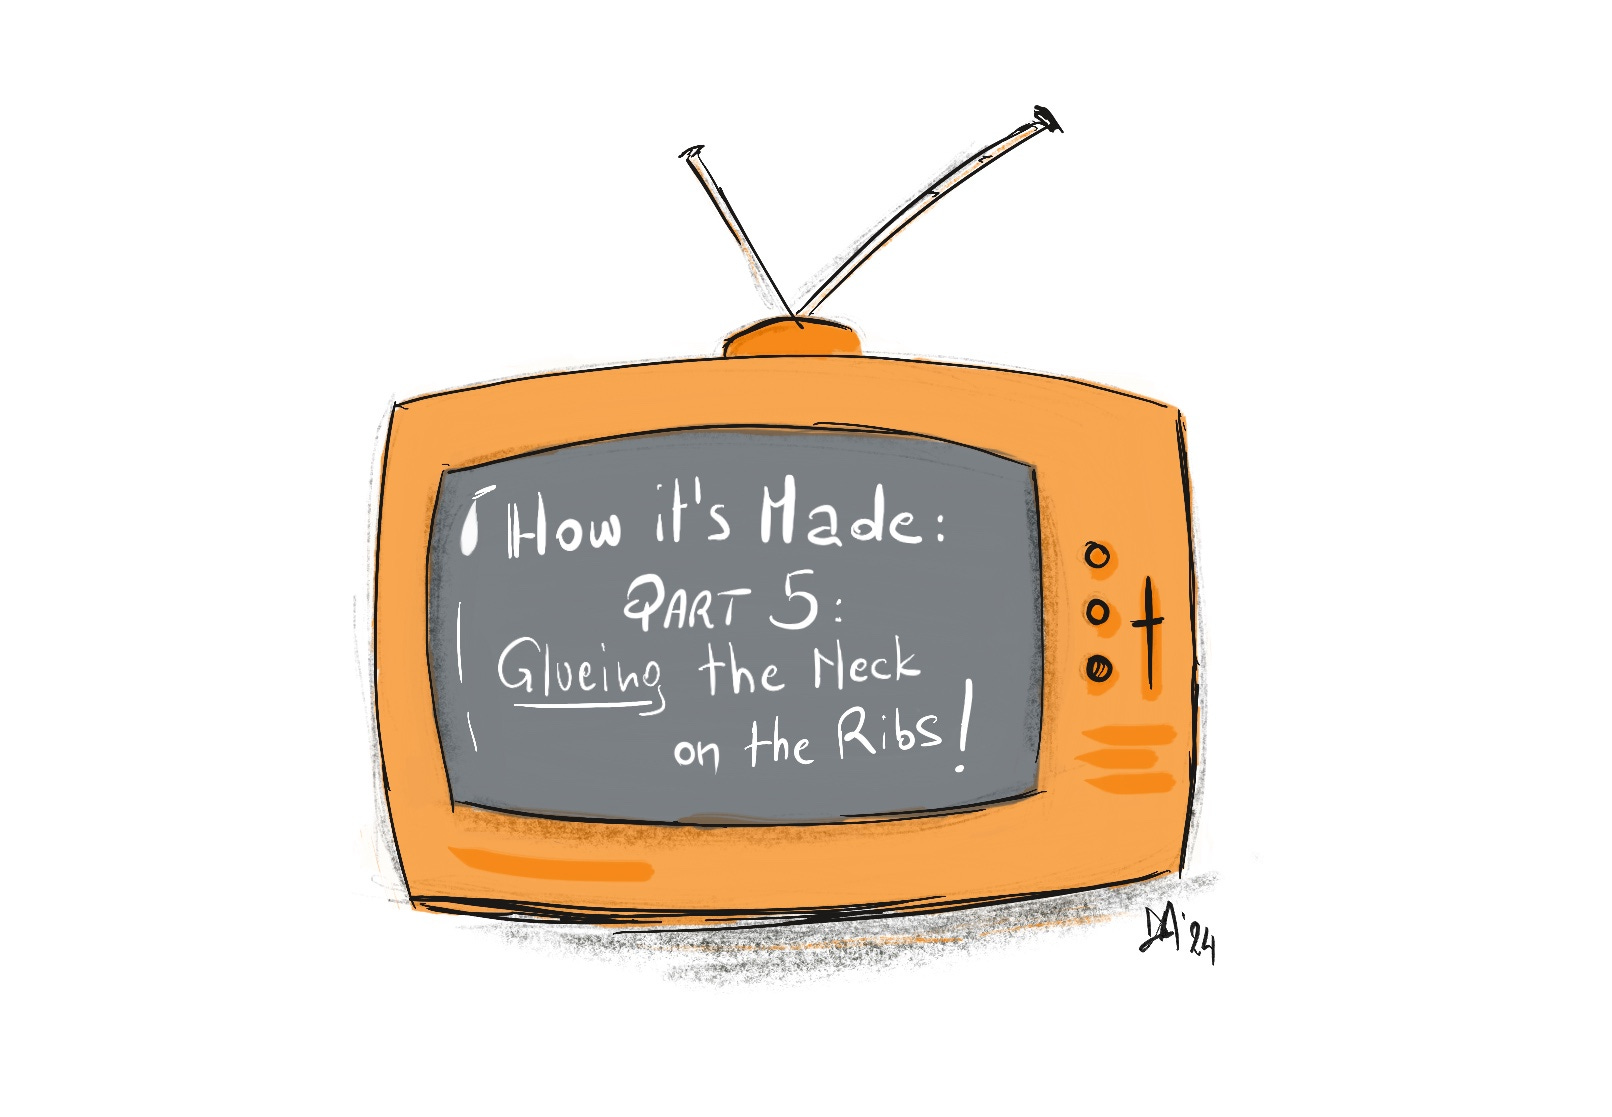
So, this issue is about glueing the neck on the ribs. Not yet about hammering a nail in it, that will come later when we’ll take out the form.
If you are a luthier, but you are not yet into the paying subscription of this newsletter because, yes, you are curious about the da spalla, but you would like access to a broader knowledge with more topics Lutherie related, there is another possibility that could appeal to you. I am subscribed since more than one year now to the Luithiers Mastermind Lab hosted by Sofia Vettori. It’s currently a small community of 10 luthiers where we meet every Wednesday evening for a 1-hour-long chat on Zoom, and we also have a community app where we can ask questions or simply share and be together. It’s a safe and nice place to be.
I have found very supportive friends, there is always space for a laugh, and I have also seen happening exchange of books or tools between participants! There is also Sofia’s husband, Ted Skreko, who is a tool nerd and has an approach often different from hers so that you can have different views on things. On holidays, we are often joined by her father, Paolo.
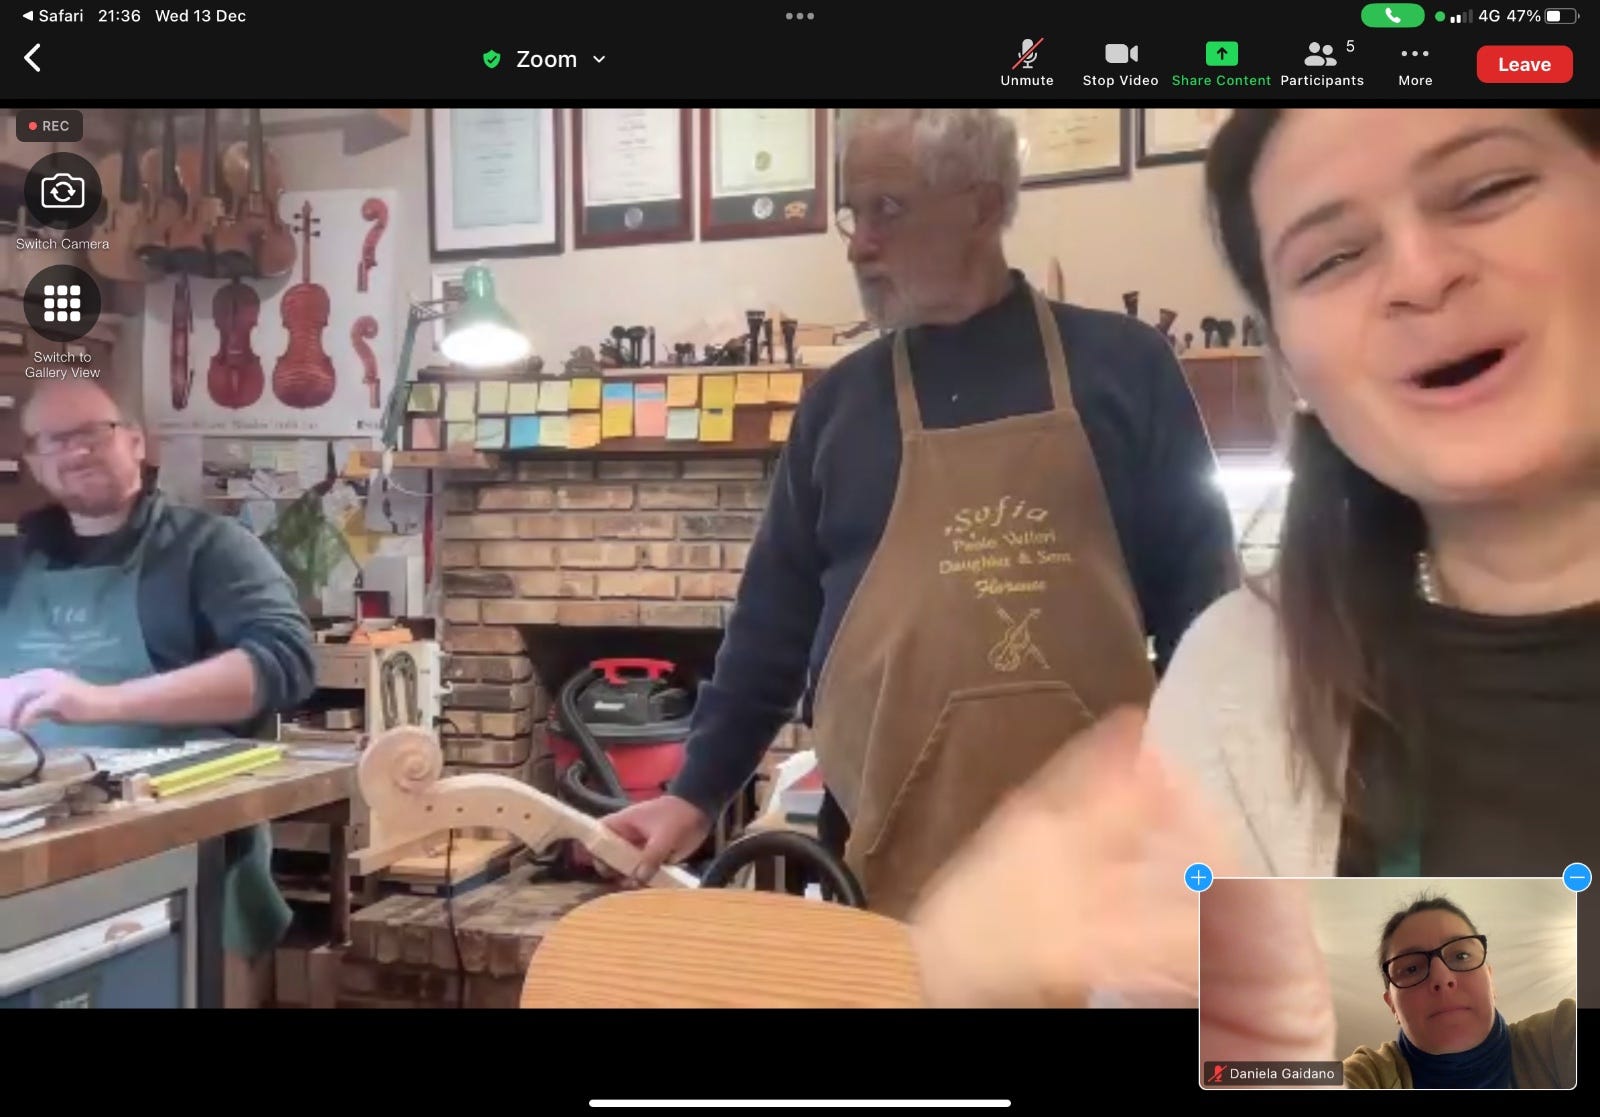
On the Zoom calls, guests are sometimes invited to speak about a specific topic. For example, this week we had Eric Meyer speak about making fittings. In the past, we had Boris Haug speak about alternative materials to hardwood, Ed Mingo about Pirastro strings and their history, and Thomas Croen about tools for setup. It’s a cool group to stay in touch with others and with the industry, and it helps to have new ideas or solutions. I enjoy starting my days reading the group chat during my morning coffee.
I’m telling you this here because everything I post in this newsletter about making the Violoncello da Spalla is also published there. Maybe in an earlier version, but always with the possibility to discuss things with me (and with others), as we do here in the Substack chat, which is reserved for paying subscribers.
So, in case you are interested in a wider Lutherie community experience, I leave you here my affiliate link: it means that I will get some money if you decide to subscribe to Sofia Vettori’s Luthiers Mastermind Lab, which will compensate me for the money I will not get from Substack. So, if you are interested, please make sure to go there by clicking this link below, and I will be super happy to meet you there!
Let’s now deep dive into glueing the neck on the ribs!
1. The Heel: preparing the V profile
This is more or less the stage at which we left our neck, having made the scroll and pegbox:
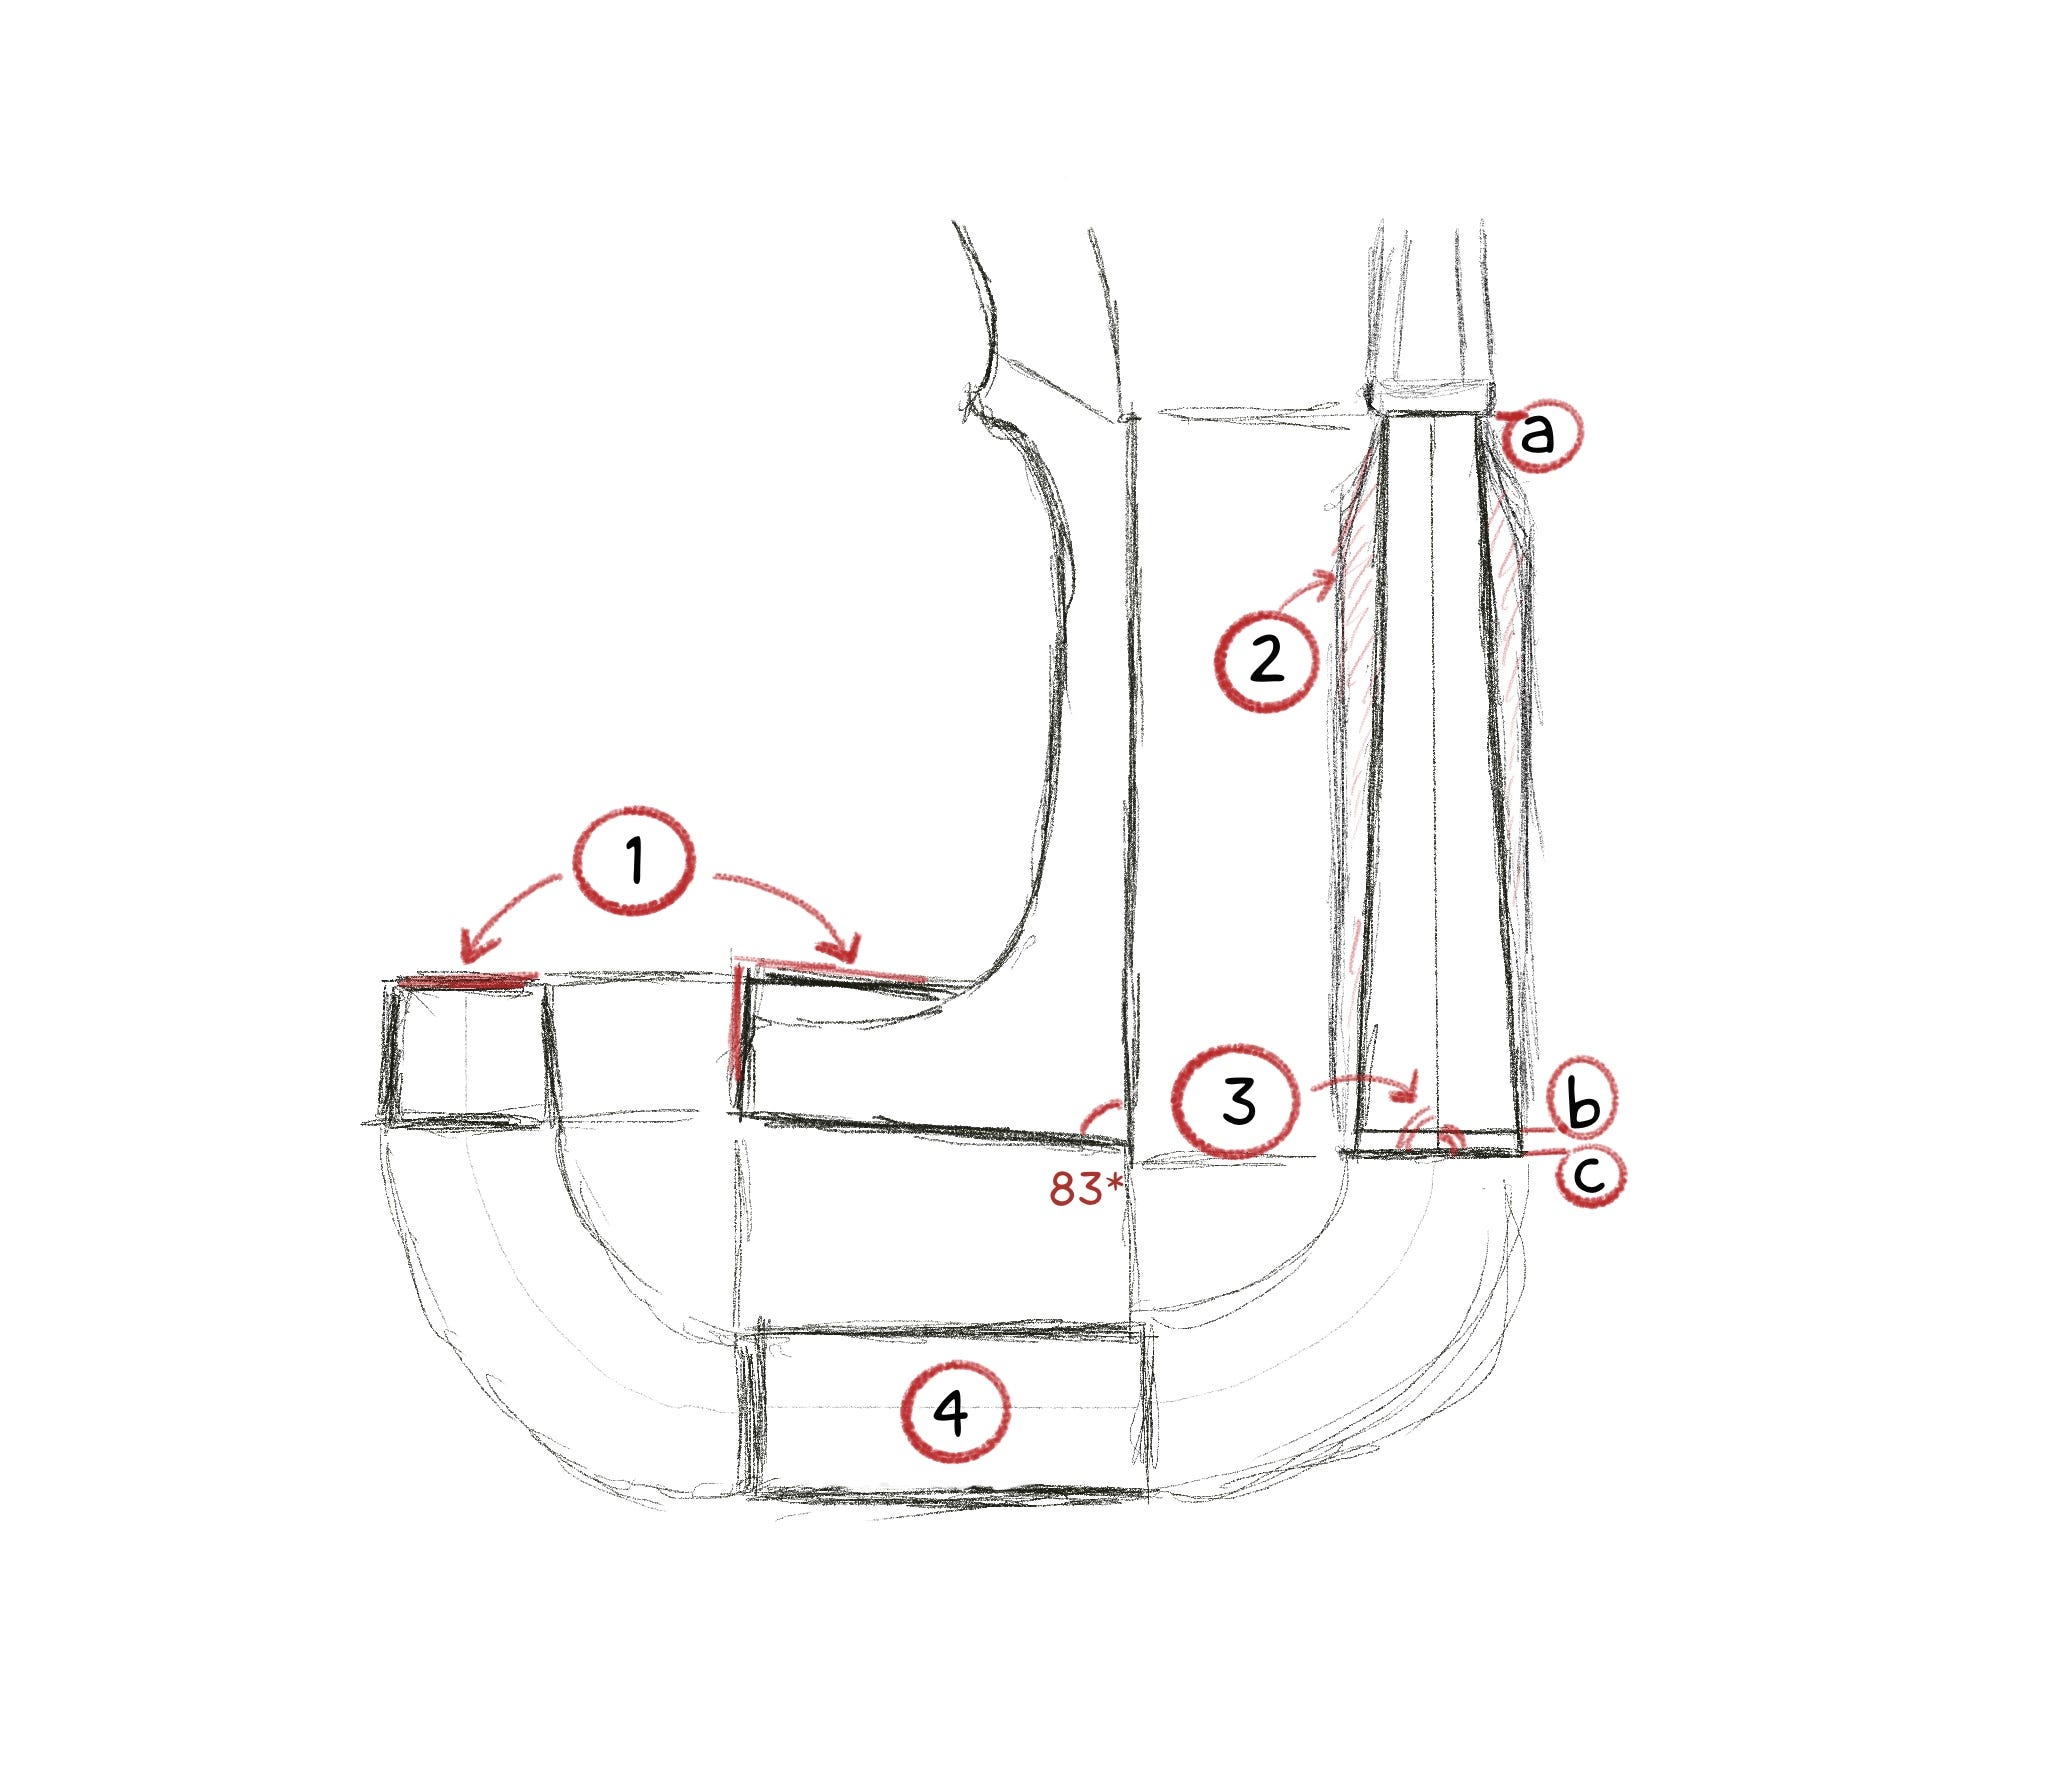
⚠️ Leave the block 1️⃣ almost squared as it is: it will be essential for clamping!
check you still have a well-visible centreline all over the neck, especially on the fingerboard plane and the heel block: if not, mark it again
double-check the length of the neck now (168 mm for my model): we measure it on the fingerboard plane from a to b. The fact that we are not measuring on the side from the nut to the edge of the top will be compensated by the curve of the ribs that we’ll incorporate later. We also keep 2.5/3 mm for the edge of the top that will seat on the neck end (b to c). Be sure the width of the fingerboard plane is marked correctly: we will need 46 mm at the line b, not at c. If you mark the width at c, you will end with a weird V curve or a too-thin fingerboard.
saw the sides 2️⃣ of the neck (leave 1 mm of margin)
now check that the heel platform 4️⃣ is correctly perpendicular to the centreline by checking the angles 3️⃣ at the intersection of the centre line and line c , and that 4️⃣ it is angled at 83* from the fingerboard plane.
Finally, make the heel platform 4️⃣ very flat, constantly checking the angles above, and draw the centreline again.